Stan’s Obligatory Blog

Page 3 of 20«12345»1020...Last »

11/12/2014

Field Trip!

Filed under: — stan @ 8:50 pm

A few weeks ago, Sue Hough sent an email out to the office to see who would be interested in a field trip to tour the San Andreas Fault in the Antelope Valley, a bit north of Los Angeles. The sights would be taken from her book, Finding Fault in California. As it turned out, there was quite a bit of interest. In the end, it was enough interest that we rented a 24-passenger bus and driver for the day so we could take the trip.

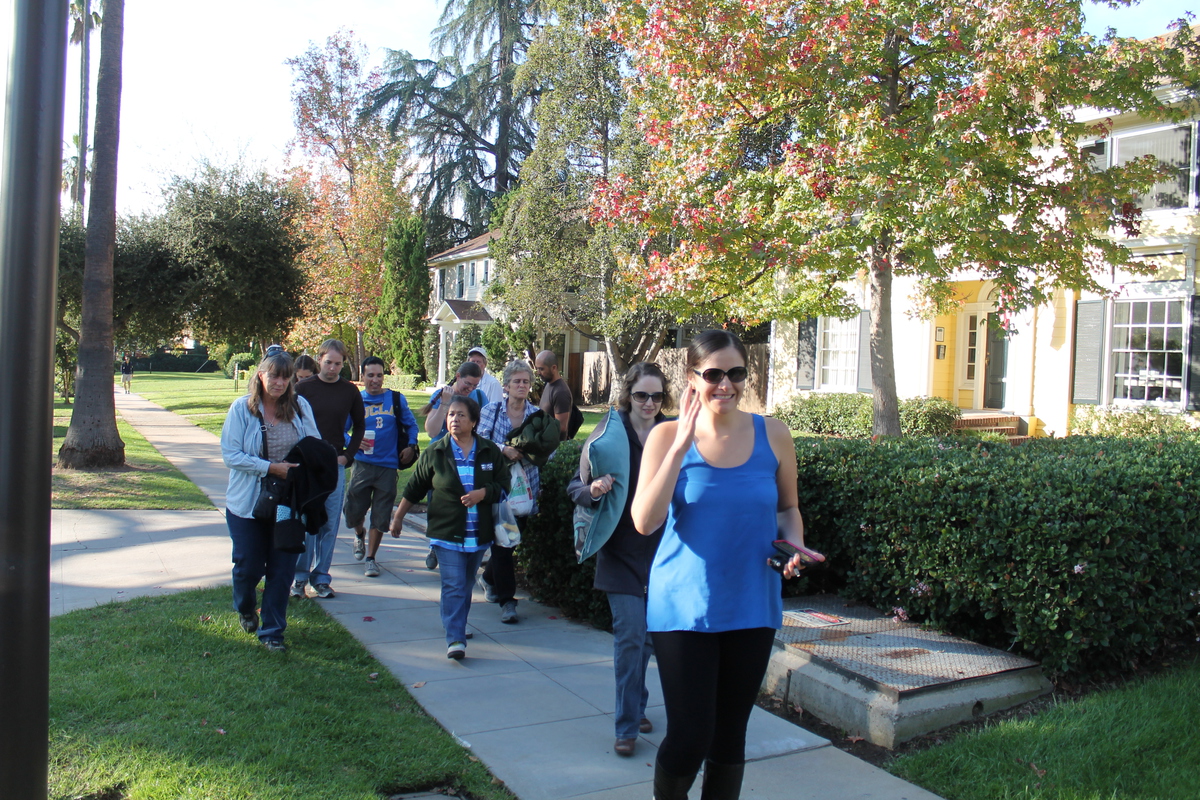
We met at the office early Wednesday morning, and then we headed out. We went past JPL, which is located right on the trace of the Sierra Madre Fault, and has a very nice, steep scarp right behind it. Our first real stop was the small fault scarp next to the McDonald’s at 1955 Glenoaks Blvd in San Fernando. This scarp was formed in the 1971 San Fernando Earthquake. I took the bike club there to see the scarp last June.

Continuing on up the freeway, we went through the 5/14 freeway interchange. This interchange fell down in the 1971 earthquake. It was rebuilt, and then fell down again in the 1994 Northridge Earthquake. Then we went up the 14 freeway, through the mountains, coming out in Palmdale. We went one exit farther up the freeway than we needed to, since that let us go through a somewhat-famous road cut on the freeway. It’s where the freeway crosses the trace of the San Andreas Fault, and in that cut, the rock layers look particularly jumbled and twisted from the motion of the fault.

Heading east out of Palmdale, we went along the northern edge of the San Gabriel Mountains. We stopped for a photo-op at a place where some people put up signs on the road to mark the trace of the fault. Makes it really easy to find, when there’s a big sign pointing it out. This site was very near where Kerry Sieh did his first trenching studies on the fault, back in the ’70s.

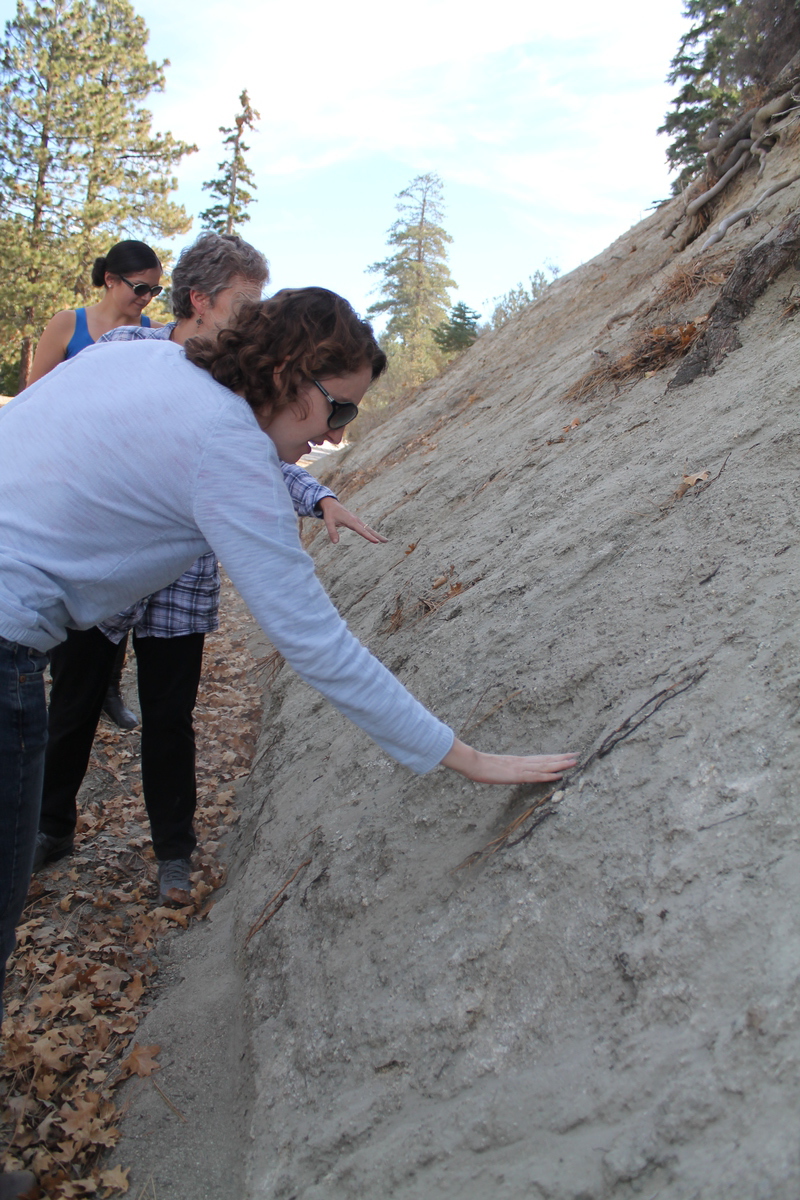
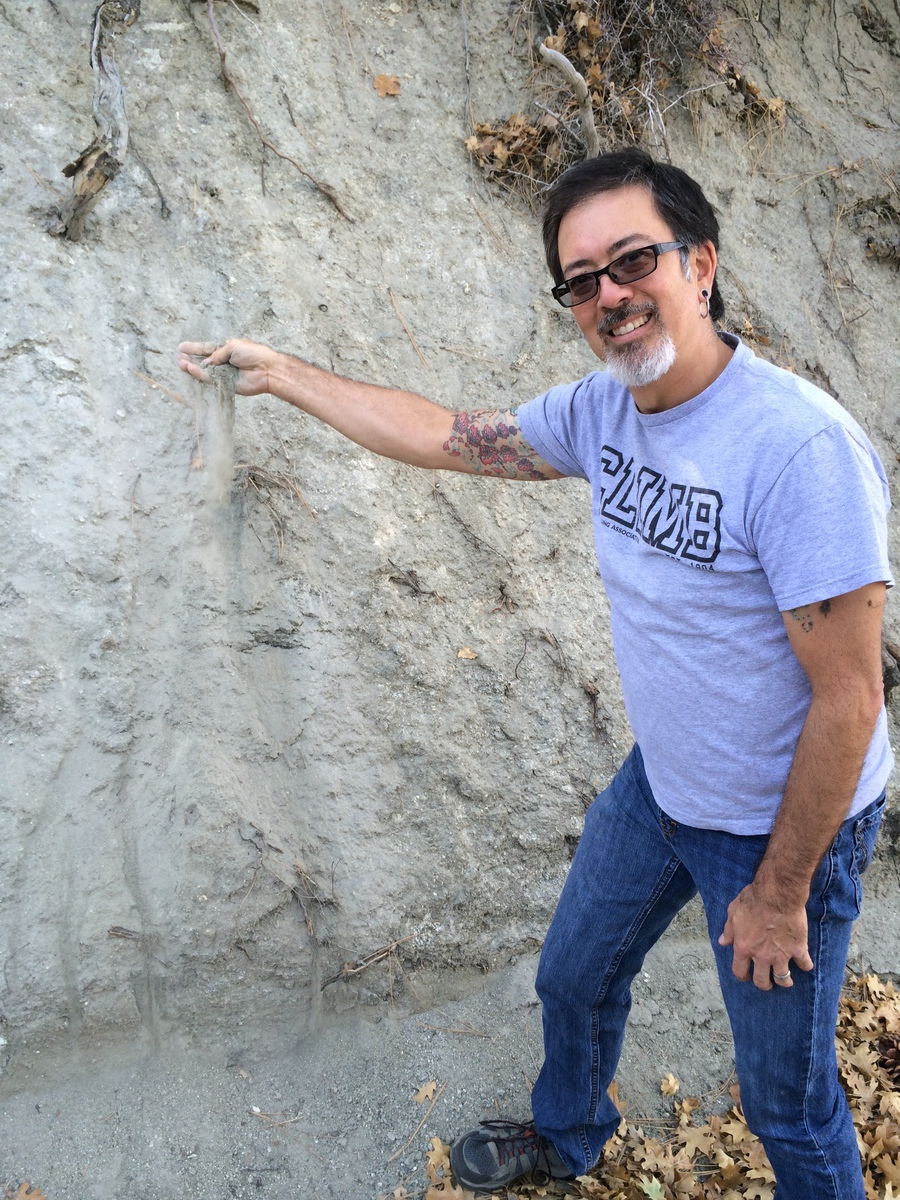
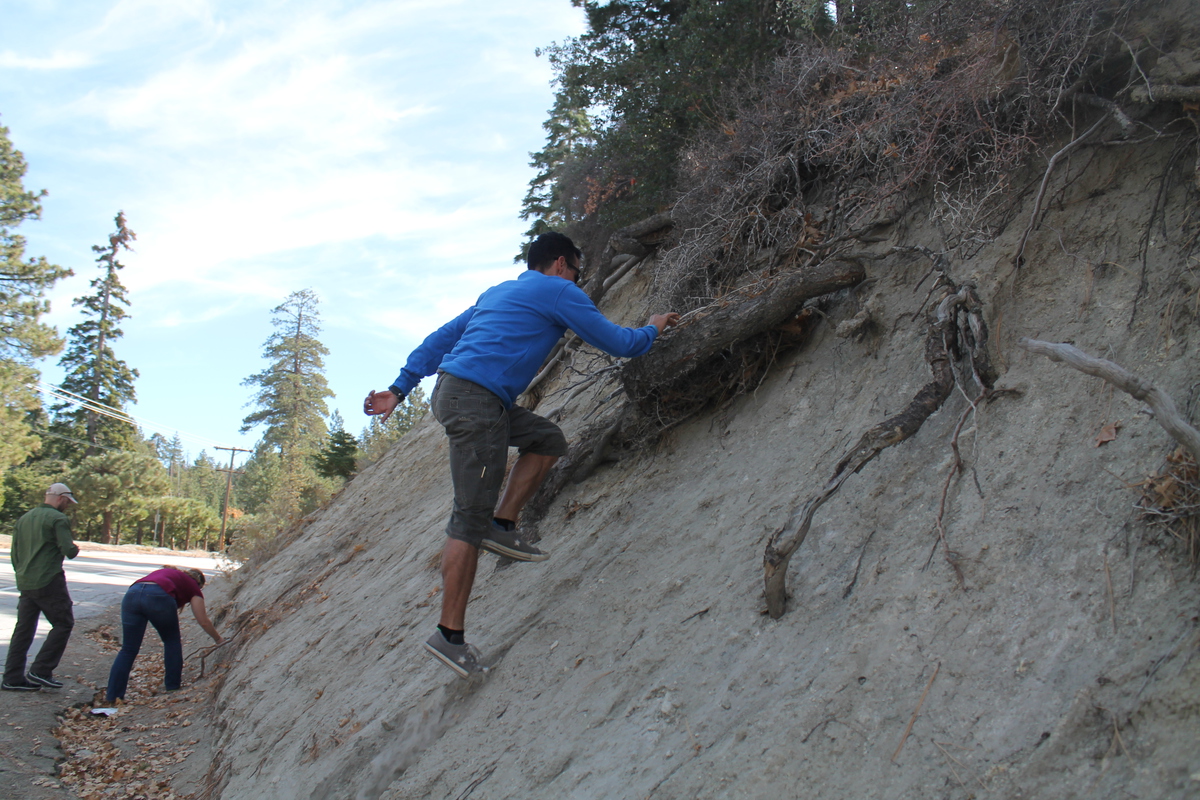
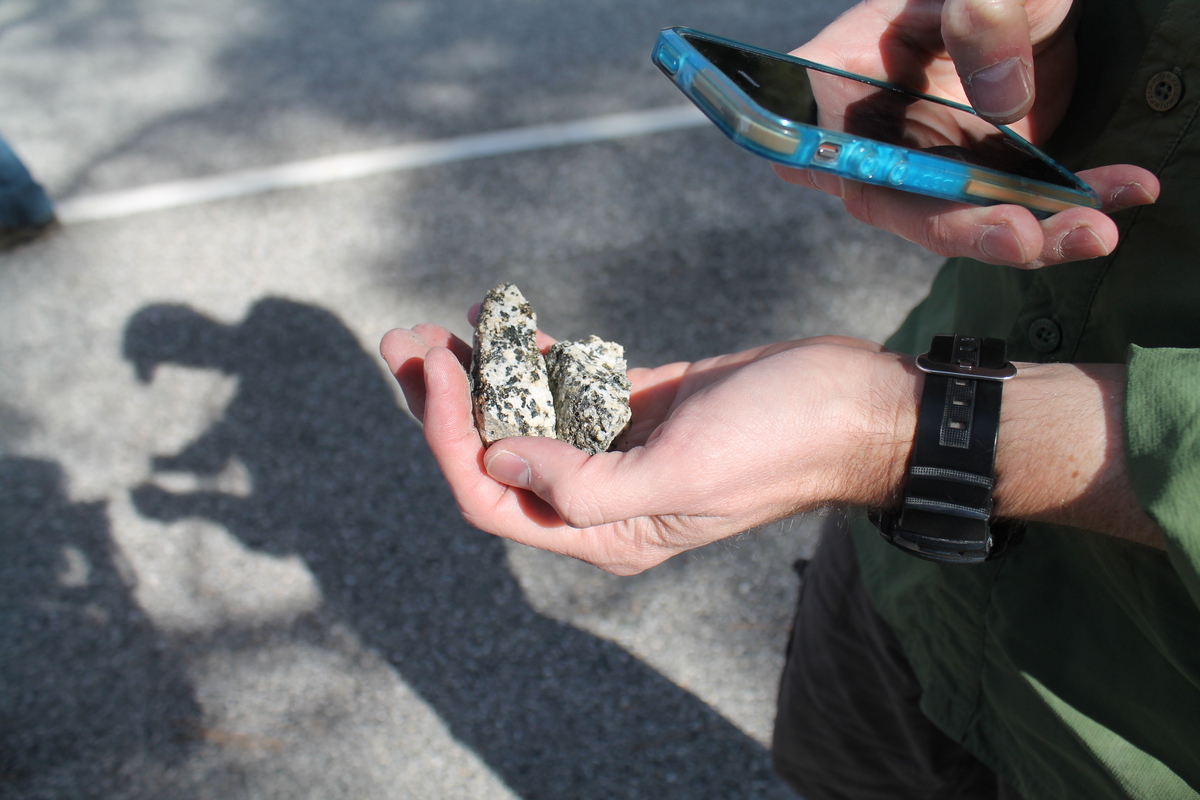
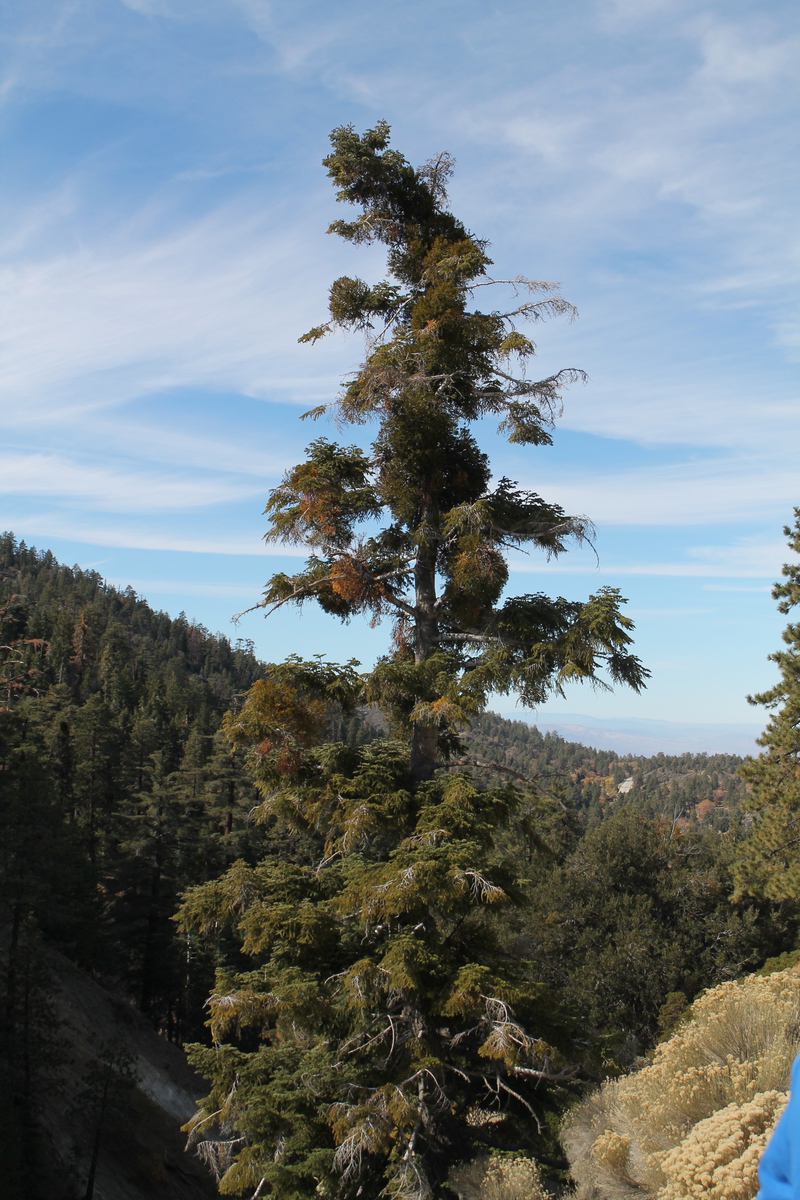
A little while later, the road started to climb into the mountains, still following the trace of the fault. We stopped at another road cut where the cut went right through the fault gouge. The side of the cut was basically packed sand and pulverized rock. Digging into it with our hands, there were some solid pieces of rock buried in there, but as Sue showed us, those solid pieces were actually shattered, and we could crumble them to sand in our hands. We also saw a tree there that was kind of bent at the top. There has been some research done on trees in that area that grow along the fault line. There are trees that show signs of having been broken off in past earthquakes.

In Wrightwood, we took one small side trip to look at some recent debris flows, and how the town has attempted to guide future debris flows to minimize damage to the town.

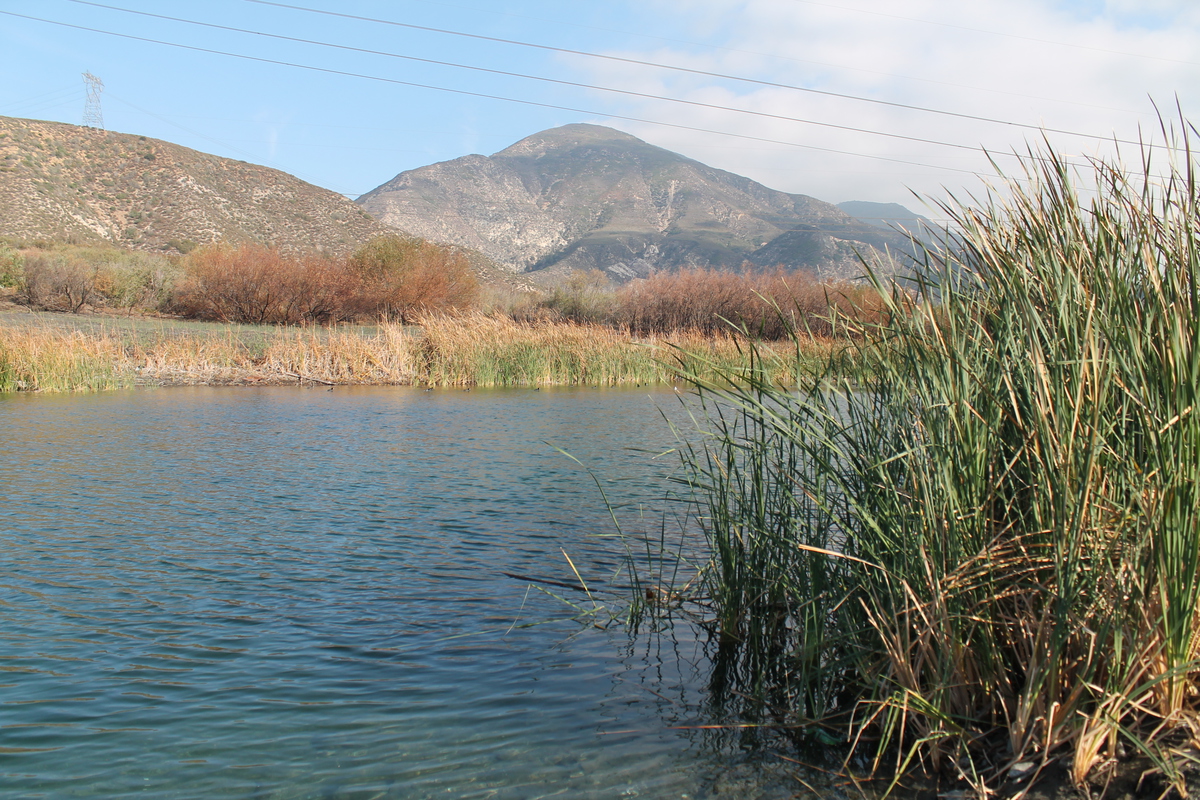
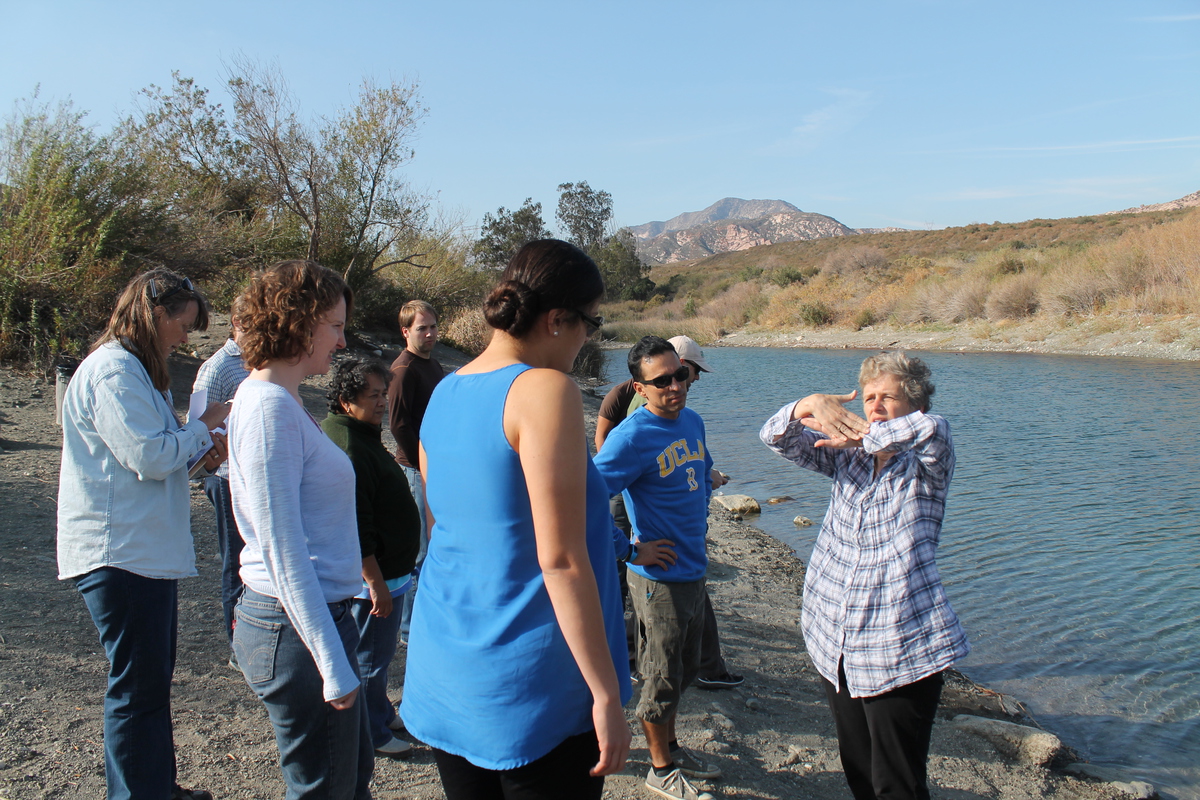
Coming down the east side of the mountain from Wrightwood, we ended up coming out by the 15 freeway in Cajon Pass. We took one more side trip to see Lost Lake, which is a small sag pond on the fault there.

This made for an interesting day of sightseeing. Have I mentioned lately that I really like my job?

9/14/2014

what if?

Filed under: — stan @ 5:52 pm

On Sunday afternoon, we took a trip to Santa Monica to go to a talk and book-signing with Randall Munroe of XKCD. He has a new book out: What If?: Serious Scientific Answers to Absurd Hypothetical Questions. It’s a collection of his what if? columns, and it’s all very entertaining.

The basic format was a conversation between Randall and Wil Wheaton. They talked about the book, about science in general, told stories, and took questions from the audience. It was a fun time, and at the end, we all lined up to get our books signed by Randall. And I got to thank him for the little bit of geek fame I got from when he mentioned my Pet Project in the mouseover text for this cartoon: http://xkcd.com/723/

5/22/2014

Open! – Another adventure with the Obscura Society

Filed under: — stan @ 11:39 pm

Ever since we got on the mailing list for Atlas Obscura, we’ve found the most interesting and odd things to do through them. That’s how we got to tour the Corriganville Movie Ranch, the Hyperion sewage-treatment plant, Pasadena Field Trip Day, and The Bunny Museum. Tonight’s adventure was “Locked – A Lock Picking Workshop”. Lock picking has been a minor hobby of mine ever since I read Surely You’re Joking, Mr Feynman! back in the ’80s. In the chapter about when he cracked the safes at Los Alamos during the war, he briefly described how to pick locks. And after reading that, I taught myself to do it, using a screwdriver and a paper clip. That was good enough to open desks and file cabinets, but not anything harder. Some years later, I was able to obtain a real lock picking kit, and I was even able to use it to wake Lucinda up when she overslept at her mom’s house one time.

We had a full crew for this adventure. Kathleen wanted to learn, Lucinda’s wanted to learn since that day back in 2010, my friends Steve and Morgan from work wanted to learn, and I wanted to learn how to do it properly, and what all those other funny picks in the kit are for. All these years, I’ve pretty much just used the one pick that most resembles the bent paperclip I first learned with. So I thought seeing it done by an actual lock-picking master would be good.

Our instructor for this was Schuyler Towne, who competes in lock picking contests, does security consulting, and leads workshops such as the one we attended. He was really quite a character, and very entertaining. And the class came complete with a set of basic picks, a tension wrench, and two locks to practice on.

He talked about the history of locks, and about how the basic pin tumbler lock we all use today dates back thousands of years, and has been essentially unchanged since the 1800s. He also talked about variations, such as locks with special pins in them to make them harder to pick, and about different types of locks, and how the principles of picking are very similar for all.

Defeating locks can be done in many different ways. He talked about the Kryptonite bike lock recall of 2004, and how Kryptonite basically shot themselves in the foot there. Apparently, the flaw that was discovered in their locks dates back a long time, and their original locks back in the ’70s were not vulnerable to it. But somewhere along the line, they switched to a slightly cheaper locking mechanism, and that’s where the trouble began. And in the end, I know that it cost them customers. They replaced my old lock for free back in 2005. But the new lock they sent me had a locking mechanism that was so poorly made, it barely worked, and it was very hard to open. So in the end, I junked it and bought one of their competitor’s locks, and it has worked well for nearly a decade now.

Another way to defeat locks is just to get an impression of the key in order to be able to copy it. He showed us how to take a quick impression by pressing the key into our wrist. And no, that’s not my house key. That’s the key to the practice lock from the class.

The last trick we learned was how to use an aluminum shim from a soda can to open padlocks and handcuffs. After all, one never knows what the day will bring.

Overall, this was a very good adventure, even if it was kind of a late night for a weekday. Have I mentioned lately how much I enjoy the Obscura adventures?

4/7/2014

400,000 (!)

Filed under: — stan @ 9:52 am

The Earthquake Notification Service, also known as My Pet Project, passed 400,000 subscribers over the weekend. It’s still hard to believe that something I built is being used by so many people.
400 thousand

2/7/2014

More electronics hacking

Filed under: — stan @ 7:06 pm

I recently found out I had some stupendous number of ‘reward points’ on my credit card. I had a look at what I could get with them, and I got this. It’s a little weather station, complete with an outside temperature sensor. So I set it up, and it works well. The only downside turned out to be that the outside sensor eats batteries. A pair of good AA batteries would only last about two weeks in it, which seems pretty pathetic for something that you’re supposed to be able to just set up and leave, like a clock. So I started thinking about what I could do about that. Since I’ve done things like this before, I figured I could rig something up.

One possibility might be to just put more or bigger batteries in it, so that there’s just more power behind it, and they wouldn’t have to be changed as often. But then I remembered that I’d found the remains of a little solar-powered flashing warning light after the wind storm in 2011, and it had two AA-sized batteries and a little solar panel to recharge them. So I thought I might be able to rig something up to have those batteries run the outside sensor, and set up the solar panel to recharge them every day.

The instructions for the weather station unit say specifically not to use rechargeable batteries in it. I think that’s probably because it’s a relatively high-current use, and rechargeables just don’t hold as much as regular batteries. But I did some tests, and I found that the unit could run just fine on a pair of NiMH rechargeable batteries. It just wouldn’t last very long. So it was time to rig up a charger.

I had to make some little wooden fake batteries to go in the battery compartment of the sensor, since it seemed that it would not run if I just hooked wires up to the battery compartment contacts. It seems to want some physical pressure on the contacts to work. So I made some fake batteries and I just ran wires out of it to an external battery pack.

Once that was working, I got the little solar panel and a diode and hooked the whole thing up with alligator clips, and I set it up on the window sill. I got it to work there, and even inside the window, I got a good 3.6V off the solar panel. So it charged the batteries whenever the sun was shining. I left it running like that for about a week. After that, I moved it all outside and set it up there with the batteries and and wires inside a cardboard box, and the solar panel on top. It ran fine for a week, so then I made it slightly more permanent. I put the sensor back on its bracket under the garage roof overhang, and mounted the external battery pack underneath it. I ran a wire across to the south side of the overhang on the garage roof, and I put the solar panel there. And what do you know? It works.

It’s been running on the NiMH rechargeables and solar panel for over a month now, and it’s worked flawlessly. On the other hand, I noticed something else annoying. I’d thought that the indoor unit was just a passive receiver for the signal from the outside sensor, but apparently they must talk back and forth. And because of this, the inside unit eats a pair of batteries about every 2-3 weeks, too. This is annoying, both because of the expense of the batteries, and also the fact that both units need to be powered off and reset to change the batteries, even if only one is being changed. It’s a Pain in the Ass, and it also will cost on the order of $20 a year for batteries alone for just the inside unit. So I went looking and found a little 3V plug-in power supply for $7.99 online. I don’t know what it’s supposed to power, but that doesn’t matter. I just clipped off the plug at the end of the wire, soldered some wires onto the contacts inside the battery compartment, and hooked it all together. And it works.

So now I’m set. The inside unit runs off regular house current, and the outside unit is running on batteries, but they are getting recharged by the sun every day. And it was a fun little project.

8/12/2013

A startling revelation

Filed under: — stan @ 9:59 pm

Tonight was yet another practice session on the staircase at the Wilshire-Figueroa building in downtown Los Angeles. I went there this evening with the goal of trying to climb it in 9 minutes or less. And after that, I planned on climbing it again at a moderate pace as many times as time would allow.

When I got there, I got signed in and started up. My planned pace was 5 2/3 floors per minute. At each time point, I checked my watch to see it ticking over the one-minute boundary. And at each time point, having to mentally add 5 2/3 to it to calculate the next time point was a useful distraction from wondering why the hell I’m doing this insane sport in the first place.

I was able to maintain my pace up to about the 38th floor, when I was suddenly overcome by a wave of ‘What-the-f#ck-are-you-trying-to-prove-here’, which briefly slowed me down. I managed to somehow keep going, and when I hit 49, I did my best to sprint up the last two floors, coming out on 51 with a time of 9:07. It’s not quite as fast as I’d wanted, but it’s still my fastest time in this round of practice, so I can’t complain.

After the elevator ride down, I climbed the stairs two more times. In both, I was trying to do my ‘moderate’ pace, which gets me to the top in about 11:20 – 11:25. It worked once, but on the third time up the stairs this evening, I was starting to fade, and it ended up taking 12:34.

By this time, I was pretty tired. But there was still time to do it again. George was there, and he’d brought his 25-foot tape measure, so we walked up together and took some measurements on the staircase. It turns out that from the door where we start up to 2 is 9 feet. Then from floors 2 to 3, it’s 14 feet exactly. The two floors from 3 to 5 the floors are 14 feet. And then from 5 all the way up to 49, each floor is 13 feet. The last two floors from 49 to 51 are 25 feet and 19 feet each. And doing the math, it works out that the steps on that staircase are 6.8 inches high, and the climb up to 51 is 669 feet, 204 meters. I can now correct my staircase chart for this building. And even though it’s slightly shorter than I’d thought, four climbs is still a half-mile, and five is still a kilometer. This is good for those of us who are irrationally goal oriented.

Fun times.

7/18/2013

Still more stuff I see while riding my bike

Filed under: — stan @ 10:53 pm

A couple years ago, I saw a guy riding a large tricycle with a tall mast on it across campus. It had Google all over it, and the guy was taking pictures for Street View.

Of course, I stopped and took some pictures. And now we can see the picture from both sides.

Here’s the link:

https://maps.google.com/maps?ll=34.137827,-118.126652&spn=0.002229,0.007446&t=m&z=17&layer=c&cbll=34.137825,-118.126648&panoid=Ahxi8zkIsxoo6tI_fNgqbg&cbp=12,352.65,,0,11.93

1/21/2013

Keep watching the skies

Filed under: — stan @ 10:51 pm

Tonight was a close conjunction of the Moon and Jupiter. I had heard about this, but didn’t really pay attention until I saw a picture of it posted by Dave Palmer, who does some nice photography. So I went outside to see if I could get a picture of it. I’ve tried to photograph things in the sky before, and it’s always an interesting exercise.

I put the 300mm zoom lens on the camera, and I mounted it on a tripod with a remote shutter release. I set it on manual mode and started playing with the settings. I had to go back inside to consult the manual to find out how to change the f-stop. Since I was having to focus manually, I thought that stopping down the lens might help to make the focus a bit sharper, since there was plenty of light to work with. I tried a lot of different exposures to see what gave the nicest balance of gray shading on the Moon. I ended up with f16, 1/15 second exposure on 200 iso, and it came out pretty well for just experimenting on on the driveway.

6/5/2012

More adventures in duct-tape astrophotography

Filed under: — stan @ 10:40 pm

Today was the transit of Venus, and I was ready with my small telescope and solar filter. I was home most of the day because the big oak tree in my back yard was being trimmed. That took a good part of the day, and by the time they were done, it was just about time for the show. So I set the telescope up on the driveway and settled in.

My astrophotography rig, such as it is, consists of my Canon A570 camera attached to the eyepiece of the telescope with some packing tape. It’s pretty simple, but it works. The first photo shows the Sun just before the start of the transit. The second was taken when Venus was fully in front of the Sun, which was about 30 minutes in. The other photos were just taken at random times along the way. Sunset was just after the mid-point of the transit, so the last photo was taken just about the mid-point. And of course, while I was doing this, the neighbors were stopping by to look at it, and I even had some people who just happened to be passing by stop for a look.

All told, it made for a fun afternoon. And that’s a good thing, since it won’t happen again until the year 2117.

5/20/2012

Hey! Who broke the sun?

Filed under: — stan @ 7:36 pm

Today was a solar eclipse. Here in L.A., we’re too far south to see the full annular eclipse, but we still got something like 85% coverage, which was still fairly dramatic.

I got a little solar filter for my Meade 2045, which is my ’small and portable’ scope. I set it up in front of our neighbor’s house where there was a clear view through the trees. I was even able to get some pictures by just duct-taping my little Canon A560 to the eyepiece. So the first photo shows the sun just a few minutes after first contact. The second is at maximum coverage. And the third photo shows the little crescent suns projected on our neighbor’s house by the sunlight filtering through the trees.

It was good geek fun. All the neighbors came out to look at it. And now that I have the filter, I’m ready for the transit of Venus on June 5th.

Page 3 of 20«12345»1020...Last »

Powered by WordPress